Welcome to the exciting world of home recording! Setting up a home recording studio can seem daunting at first, but with the right guidance, you can create a space that allows you to bring your musical visions to life. This guide will walk you through the essential steps to build a home recording studio, enabling you to produce quality recordings right from the comfort of your home.
Understanding the Basics of Home Recordings
The Need for a Home Recording Studio
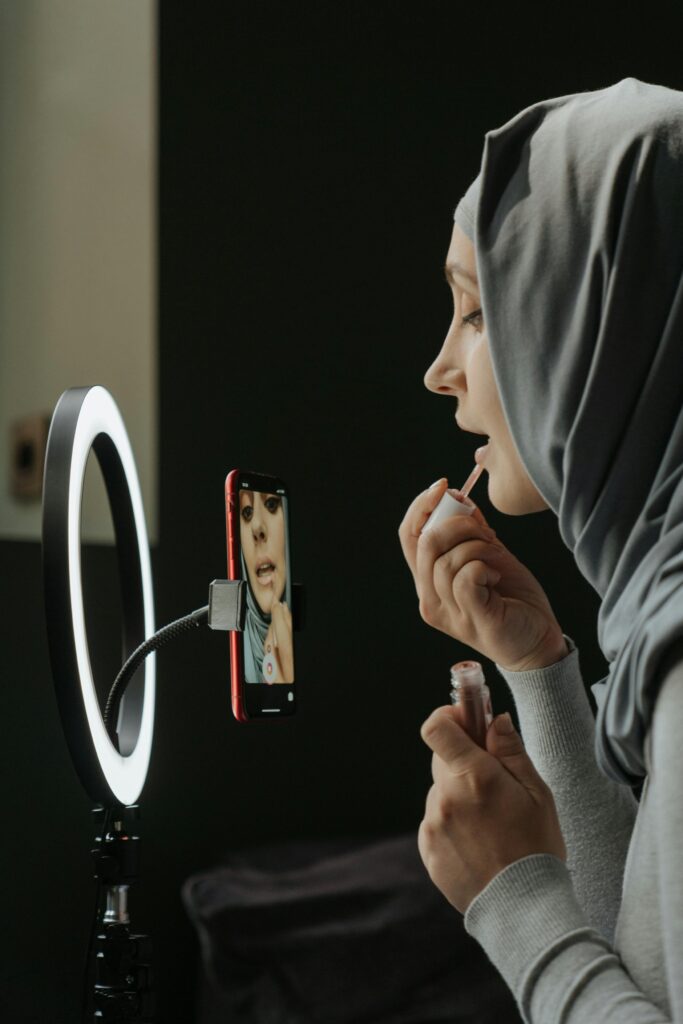
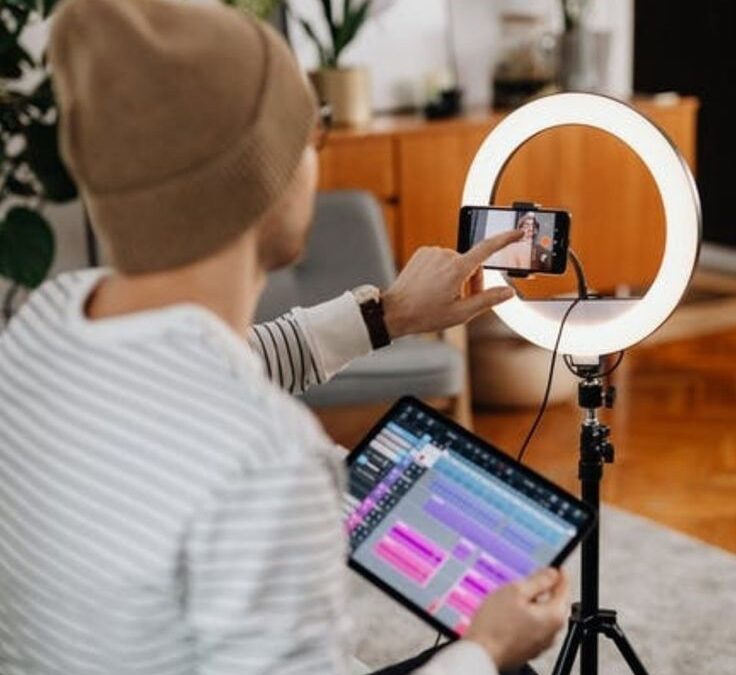
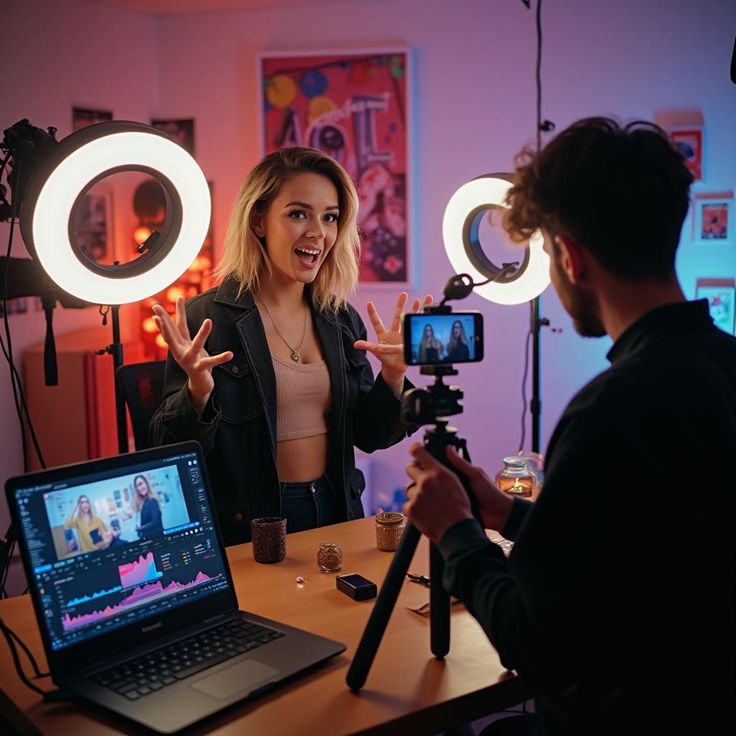
In today’s music landscape, the need for a home recording studio has never been greater. Aspiring musicians and seasoned professionals alike are increasingly turning to home studio setups to make music and control their creative process. A home recording studio provides the freedom to experiment, record whenever inspiration strikes, and refine your sound without the constraints of expensive studio time. Whether you’re recording vocals, instruments, or entire compositions, having your own recording space is invaluable for music production and achieving a professional sound. In addition to that, Lighting accessories are essential for video quality, and beginners need guidance on how to start with simple, high-quality equipment before upgrading to professional bundles.
Benefits of Setting Up a Home Recording Environment
Setting up a home recording environment brings numerous advantages that go beyond simple convenience. In fact, a home studio provides benefits such as:
- Cost-effectiveness, as you no longer need to pay for hourly studio rentals.
- Flexible scheduling, enabling you to work on your music whenever you want.
Furthermore, a dedicated home studio fosters a comfortable and personalized space, which in turn encourages creativity and experimentation. By recording at home, you can fine-tune your skills, experiment with different sounds, and ultimately achieve a unique and polished final product that reflects your artistic vision. Setting up your first home recording setup is a worthy investment if you wish to make music.
Essential Components of a Home Studio
To build a home recording studio, you’ll need several essential components. Key aspects of the setup include:
- A computer with a digital audio workstation (DAW) like Pro Tools or Studio One for recording, editing, and mixing.
- An audio interface to connect your microphone and other instruments to your computer, ensuring quality recordings.
A good condenser microphone is essential for capturing clear vocal performances and instrument sounds. Studio monitors and headphones are needed for accurate sound reproduction during mixing and mastering. With these key elements, you’re well on your way to setting up a home studio.
Choosing the Right Equipment for Your Home Studio
Microphones: Types and Recommendations
Selecting the right microphone is crucial when you build a home recording studio. The choice often depends on what you’re recording. Condenser microphones are great for recording vocals and acoustic instruments due to their sensitivity and ability to capture detailed nuances. Dynamic microphones are more robust and better suited for recording drums or loud amplifiers in your home studio. Investing in a quality condenser microphone can significantly enhance the clarity and warmth of your home recordings, making it a cornerstone of your studio gear. This ensures professional studio quality when you make music in your recording space.
Audio Interfaces: What You Need to Know
An audio interface acts as the bridge between your instruments and your computer. It converts analog signals from your microphone and instruments into a digital format that your DAW can understand. When choosing an audio interface for your home studio, consider the number of inputs and outputs you’ll need. If you plan on recording vocals and a guitar simultaneously, you’ll need at least two inputs. A good audio interface ensures quality recordings with low latency, enabling smooth music production and making it an essential part of your home studio setup. The audio interface is the core of setting up a home recording.
Studio Monitors and Headphones: Finding the Right Fit
Studio monitors and headphones are vital for accurate mixing and mastering in your home studio. Studio monitors provide a flat frequency response, allowing you to hear your recording sound objectively without added coloration. Headphones are essential for critical listening and mixing, especially when working in environments where acoustic treatment is limited. Investing in a quality pair of studio monitors and headphones ensures that you make informed decisions during the mixing process, ultimately improving the overall sound of your music production in your home studio. Whether you’re recording vocals or mixing tracks, reliable monitors and headphones are key to achieving professional studio results in your recording studio at home.
Setting Up Your First Home Recording Studio
Creating a Quiet Recording Environment
Creating a quiet recording environment is crucial when you build a home recording studio. Choose a room that is naturally quiet, away from external noise like traffic or noisy neighbors. Soundproofing measures such as adding acoustic panels, heavy curtains, or even blankets can significantly reduce unwanted noise and reflections. Sealing windows and doors can also help minimize external disturbances. By optimizing your recording space for minimal noise, you ensure quality recordings with a clean and professional sound, making it easier to produce great music in your home studio. Creating a quiet recording environment is a must when setting up a home studio.
Arranging Your Recording Space for Optimal Sound
Arranging your recording space is essential for achieving optimal sound. Position your studio monitors in an equilateral triangle with your listening position to ensure accurate stereo imaging. Avoid placing the studio monitors directly against walls, as this can cause unwanted bass buildup. Acoustic treatment, such as bass traps in the corners and absorption panels on the walls, can further improve the sound quality by minimizing reflections and standing waves. Experiment with different arrangements to find the sweet spot in your room for mixing and recording vocals. Proper arrangement will enhance your recording environment and contribute to professional studio results in your home recording studio.How you arrange your music studio impacts your music production.
Choosing the Right Digital Audio Workstation (DAW)
Selecting the right Digital Audio Workstation (DAW) is a critical step when setting up a home recording studio. A DAW is the software at the heart of your music production, where you will record, edit, mix, and master your music. Popular DAWs like Pro Tools, Studio One, Ableton Live, and Logic Pro offer a range of features tailored to different music production workflows. Consider your specific needs, whether you’re recording vocals, virtual instruments, or live instruments. Many DAWs offer trial versions, allowing you to experiment and find the one that best suits your style and workflow, which will help make great music. The DAW is a cornerstone of setting up a home studio.
Building a Home Recording Studio: Step-by-Step
Planning Your Studio Layout
Planning the layout of your home recording studio is a critical first step in ensuring an efficient and inspiring workspace. Consider the size and shape of your room and how it will affect acoustics. Position your desk and studio monitors to create an equilateral triangle with your listening position for accurate stereo imaging. Ensure you have enough space for recording vocals and instruments, and think about cable management to avoid clutter. Proper studio design and planning will enhance your workflow and improve the quality of your music production.
Connecting Your Recording Gear
Connecting your recording gear correctly is essential for seamless music production in your home studio. Start by connecting your audio interface to your computer via USB or Thunderbolt. Then, connect your studio monitors to the outputs of your audio interface using balanced cables. Plug in your condenser microphone to the microphone input on your audio interface, ensuring you use an XLR cable and activate phantom power if required. Test each connection to ensure that the signals are being transmitted correctly before you begin recording. Setting up your equipment correctly will allow you to make music with ease.
Testing Your Setup: Making Your First Recording
After setting up your recording gear, it’s time to test your setup by making your first recording. Open your DAW and create a new project. Select your audio interface as the input and output device. Arm a track for recording and test your microphone level by speaking or singing into the condenser microphone. Adjust the gain on your audio interface to achieve a healthy signal level without clipping. Record a short passage and play it back to ensure everything is working correctly. This step will help you identify and resolve any issues before you start recording vocals or instruments.
Tips for Music Production in Your Home Studio
Working with Pro Tools and Other Software
Working efficiently with your DAW, such as Pro Tools or Studio One, is key to maximizing your music production capabilities in your home recording studio. Familiarize yourself with the software’s features, including recording, editing, mixing, and mastering tools. Learn keyboard shortcuts to speed up your workflow. Experiment with virtual instruments and effects plugins to enhance your recording sound. Watch tutorials and read the manual to deepen your understanding of the software. Efficient DAW skills are essential for creating professional studio quality recordings at home.
Enhancing Your Studio Sound
Enhancing your studio sound involves optimizing both the acoustics of your recording space and the quality of your recording equipment. Invest in acoustic treatment such as bass traps, diffusers, and absorption panels to minimize reflections and standing waves. Use quality cables and connectors to ensure clean signal transmission. Regularly calibrate your studio monitors for accurate sound reproduction. Experiment with microphone placement to capture the best possible sound from your instruments and vocals. Small improvements in your recording environment can result in big gains in the quality of your home recordings.
Common Mistakes to Avoid When Recording at Home
Setting up a home studio involves navigating potential pitfalls. To ensure a smoother and more productive music production experience, consider avoiding issues such as:
- Neglecting acoustic treatment, which can result in poor recording sound.
- Underestimating the importance of a quality condenser microphone and audio interface for quality recordings.
- Recording in noisy environments without proper soundproofing.
- Failing to monitor your recording levels, leading to potential clipping.
- Not backing up your projects regularly, risking data loss.
By avoiding these pitfalls, you can ensure a smoother and more productive music production experience in your music studio.